| 2.2. Building and Installing on Windows Platforms | ||
|---|---|---|
 | Chapter 2. Building and Installing Geant4 |  |
| 2.2. Building and Installing on Windows Platforms | ||
|---|---|---|
| | Chapter 2. Building and Installing Geant4 | |
Unpack the Geant4 source package, geant4_10_01.zip to a
location of your choice. For illustration only,
this guide will assume it's been unpacked in a directory
C:\Users\Ben\Documents\geant4\, so that the Geant4
source package resides in the subdirectory
C:\Users\Ben\Documents\geant4\geant4_10_01
We refer to this directory as the source directory.
Whilst CMake can be used from the Windows cmd
program, we recommend using the CMake GUI for configuring the build.
The steps required to use the CMake GUI and Visual Studio to build and
install Geant4 are described below.
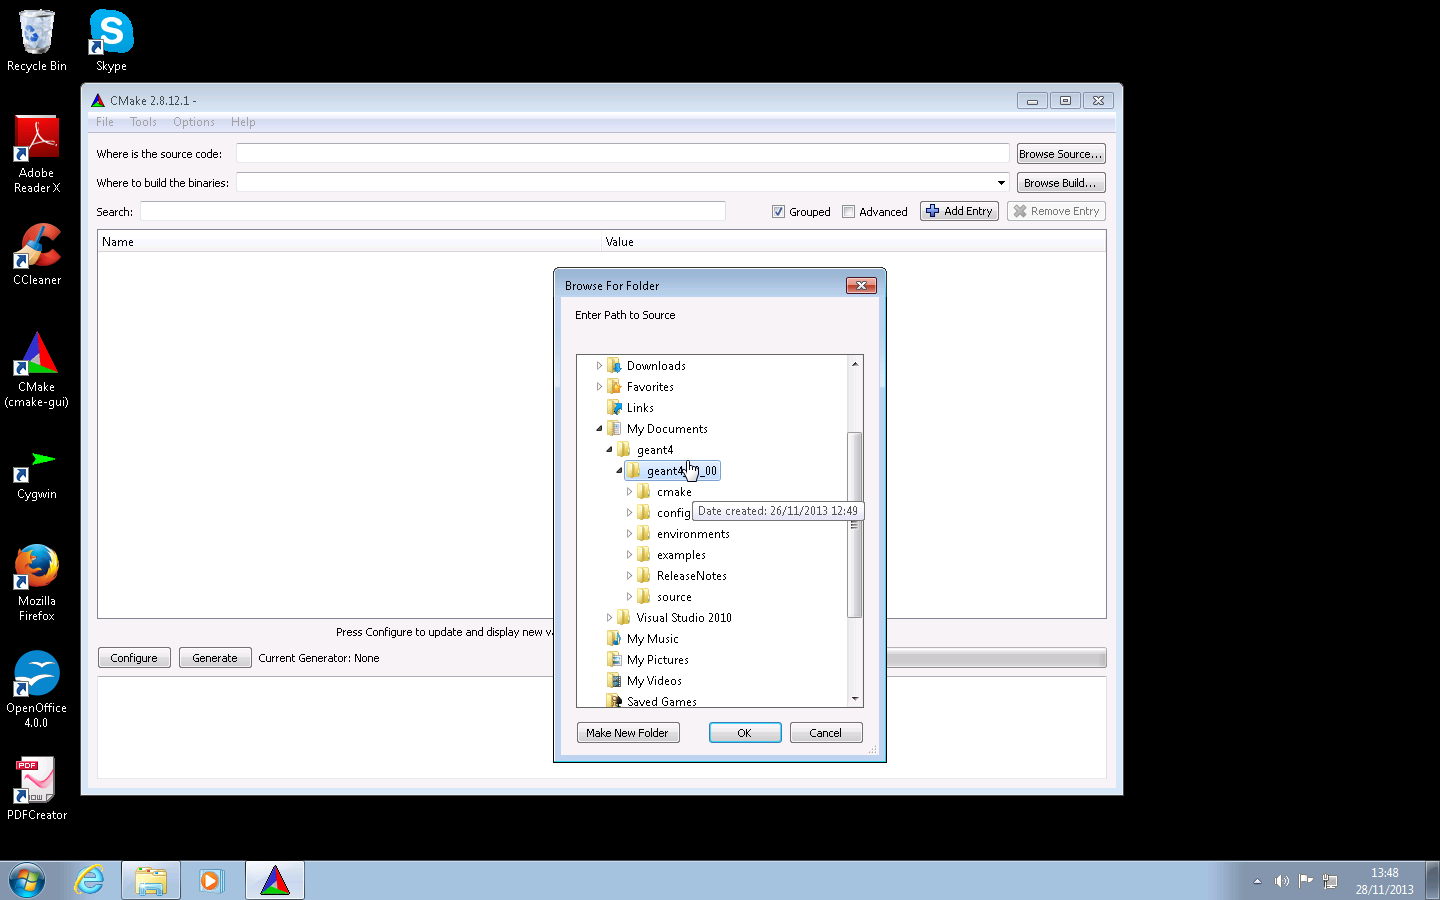
Open the CMake (cmake-gui) executable, and click on the Browse Source... button in the top right hand corner of the window. Use the file browser popup to locate the Geant4 source directory, and click OK.
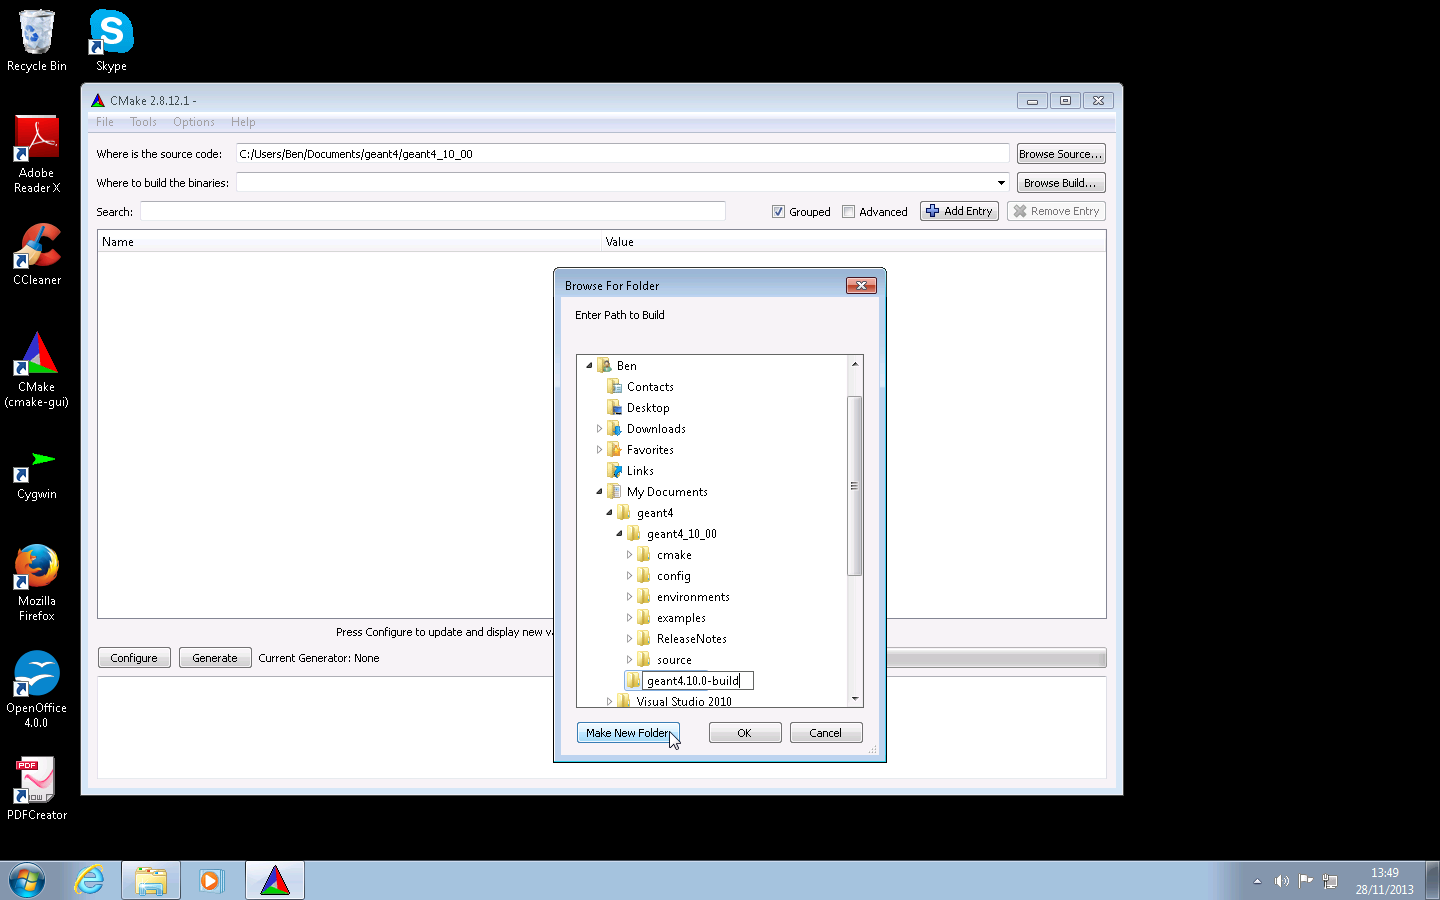
Now we create a directory in which to create the Visual Studio project files and hold the build products. This directory should not be the same as, or inside, the the source directory. Here we will create this build directory alongside our source directory.
Click on the Browse Build... button in the
top right hand side of the CMake GUI window. Use the file browser
popup to browse back to
C:\Users\Ben\Documents\geant4\,
and click on the Make New Folder button.
Rename the created folder to geant4.10.1-build,
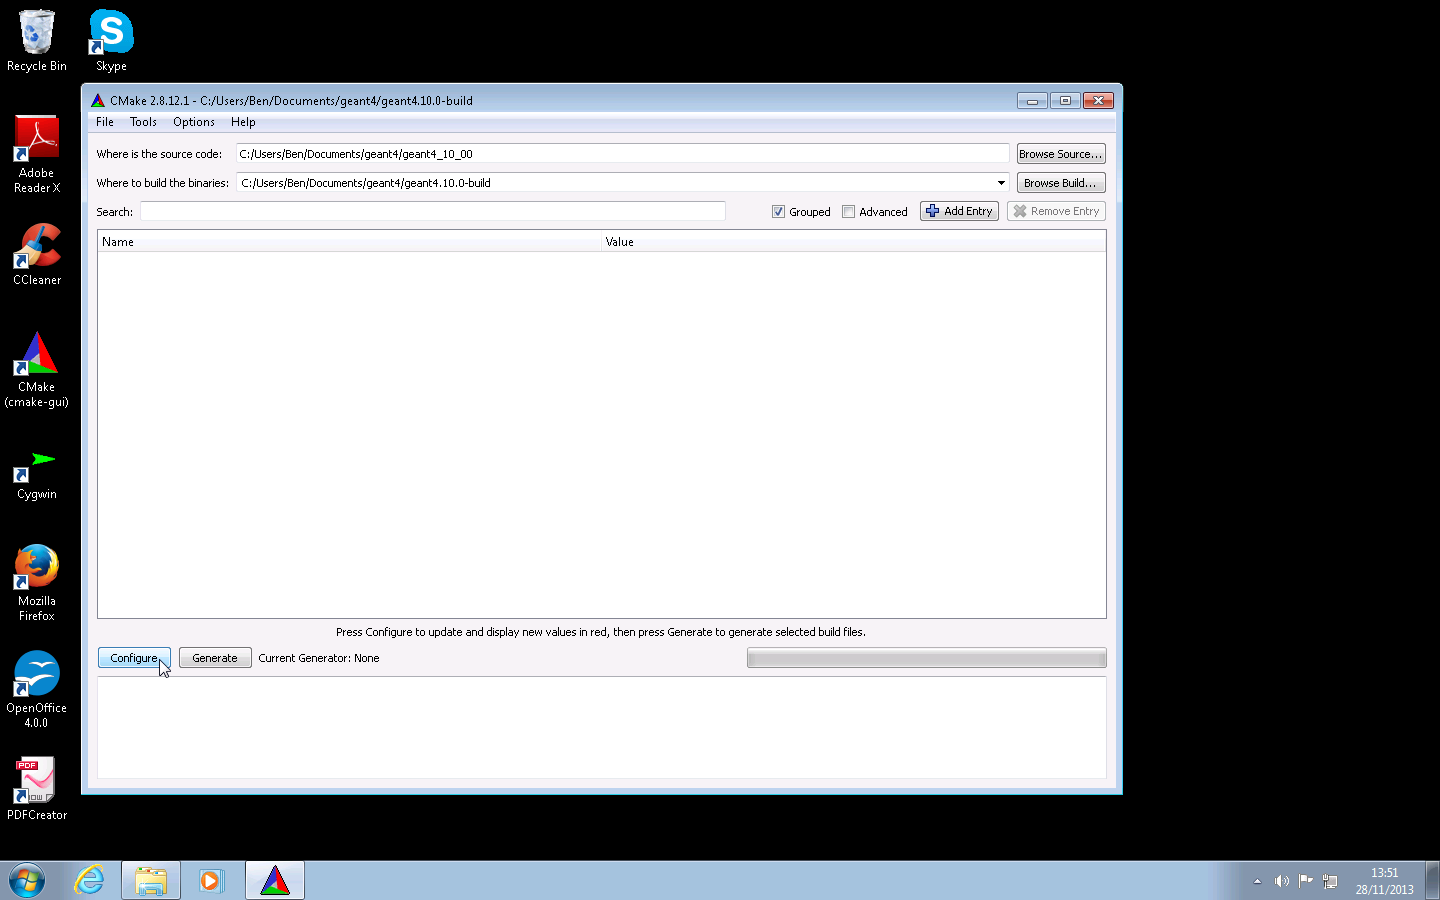
and click on the OK button. The two text
entries at the top of the GUI should now contain
C:/Users/Ben/Documents/geant4/geant4_10_01 and
C:/Users/Ben/Documents/geant4/geant4.10.1-build
respectively (Note: CMake always represents
Windows paths with forward slashes).
Click on the Configure button on the bottom left hand side of the GUI.
In the popup window, select Visual Studio 2010. Ensure only the Use default native compilers radio box is checked. Then click on the Finish button.
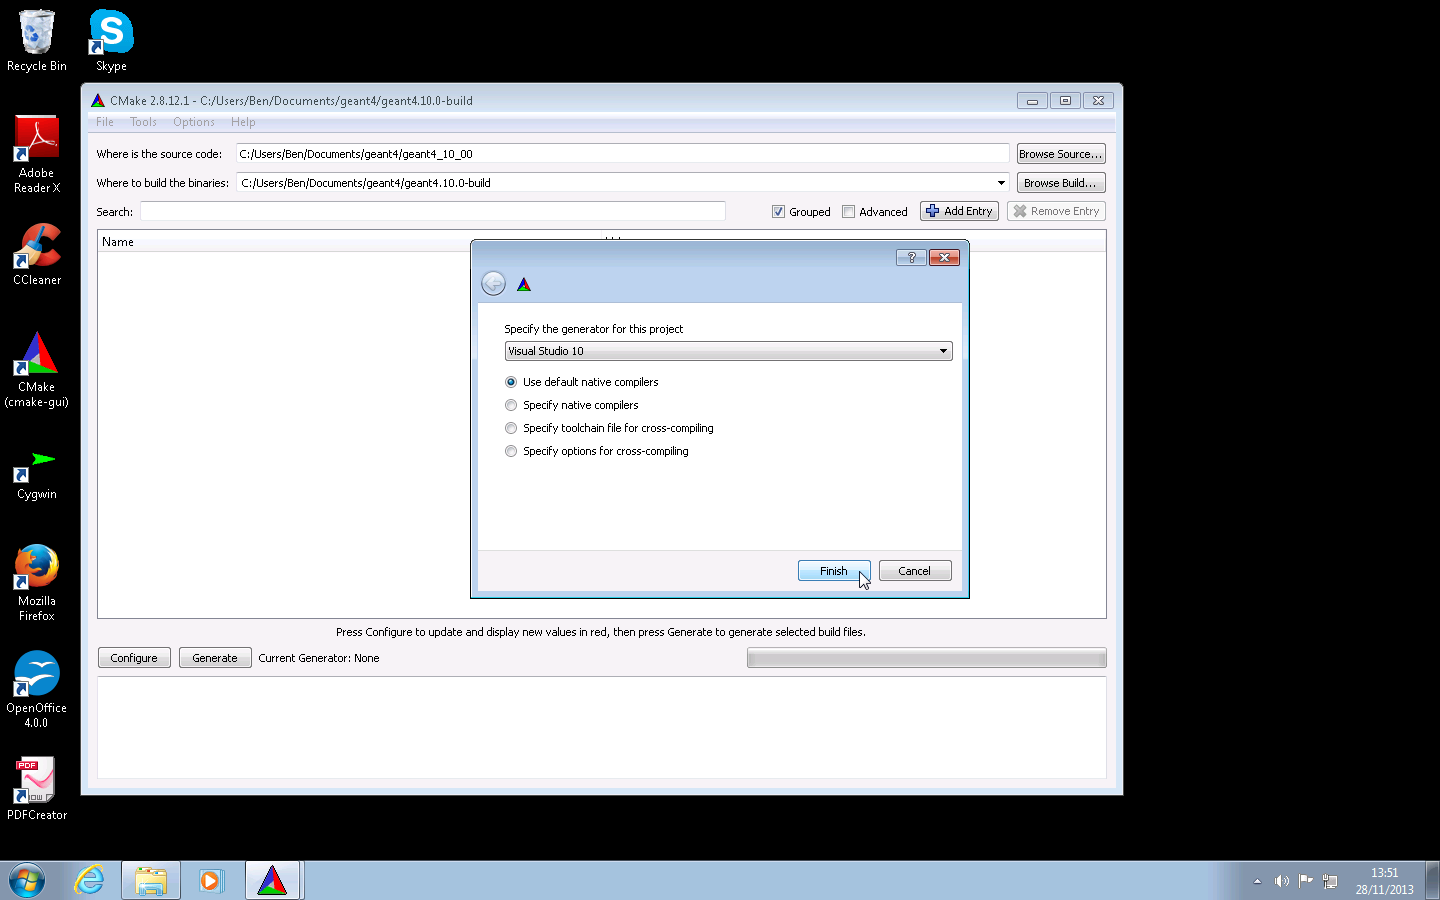
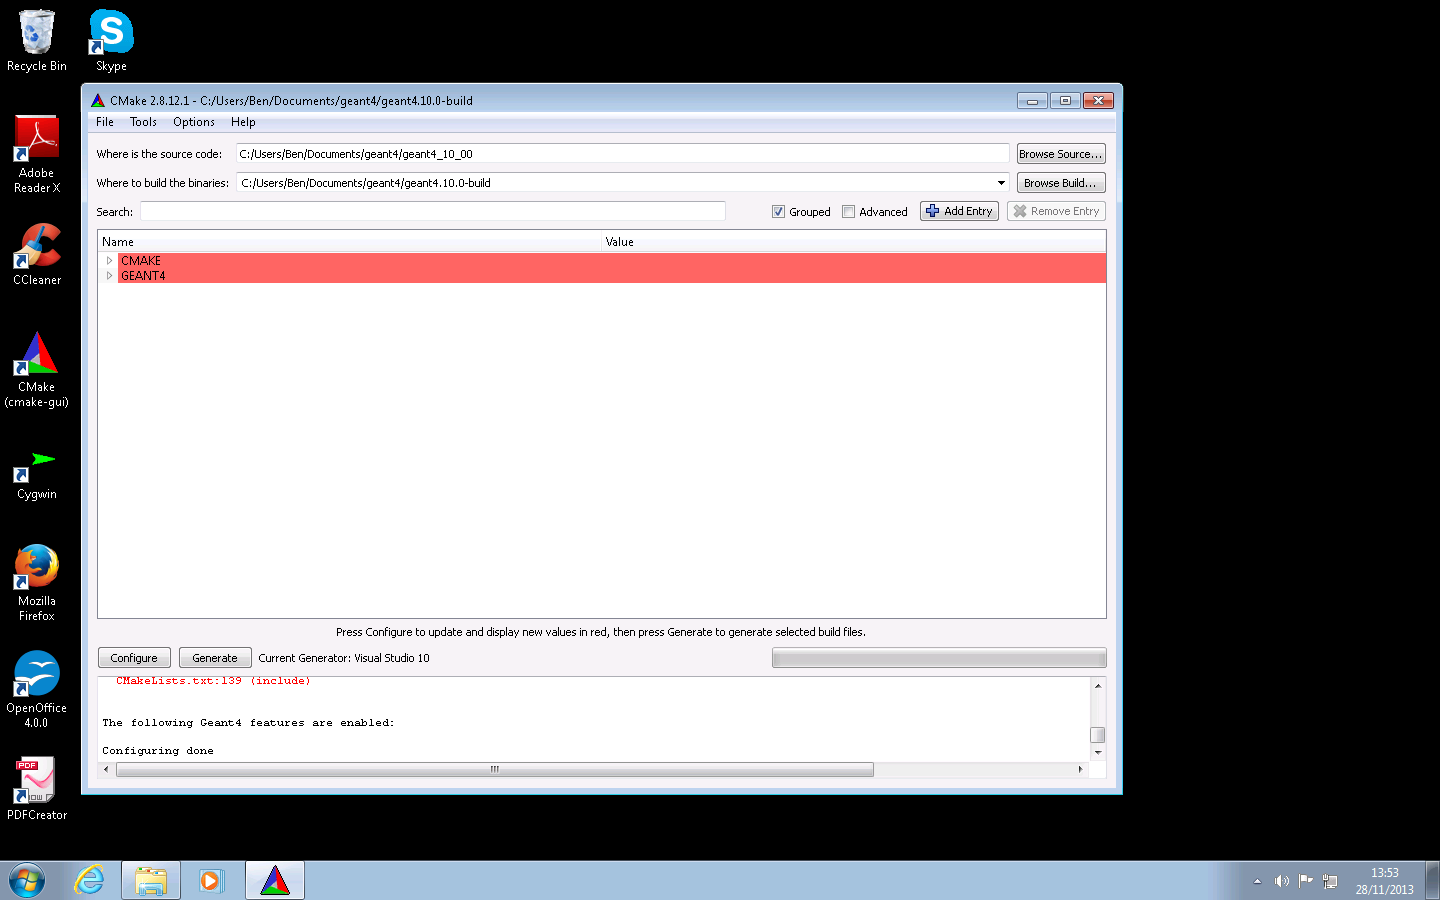
CMake will then run to check features and provide an initial
configuration. All being well, you will see red highlighted
entries in the main options window
including CMAKE and
GEANT4 entries.
Note that the red highlighting means CMake has not fully resolved
all configuration variables yet, not that has been an error.
On Express editions of Visual Studio, you may see a warning about
missing system runtime libraries in the logging window at the
bottom of the GUI, but this can be ignored for a standard install.
On the latest versions of CMake, you may also see warnings relating
to LINK_INTERFACE_LIBRARIES and these can be
ignored. Any other errors will be reported in this logging window.
By default, CMake will configure the build to install Geant4
under C:/Program Files/Geant4. If you do not
wish to use this directory, or do not have permission to install
there, you can change the installation location.
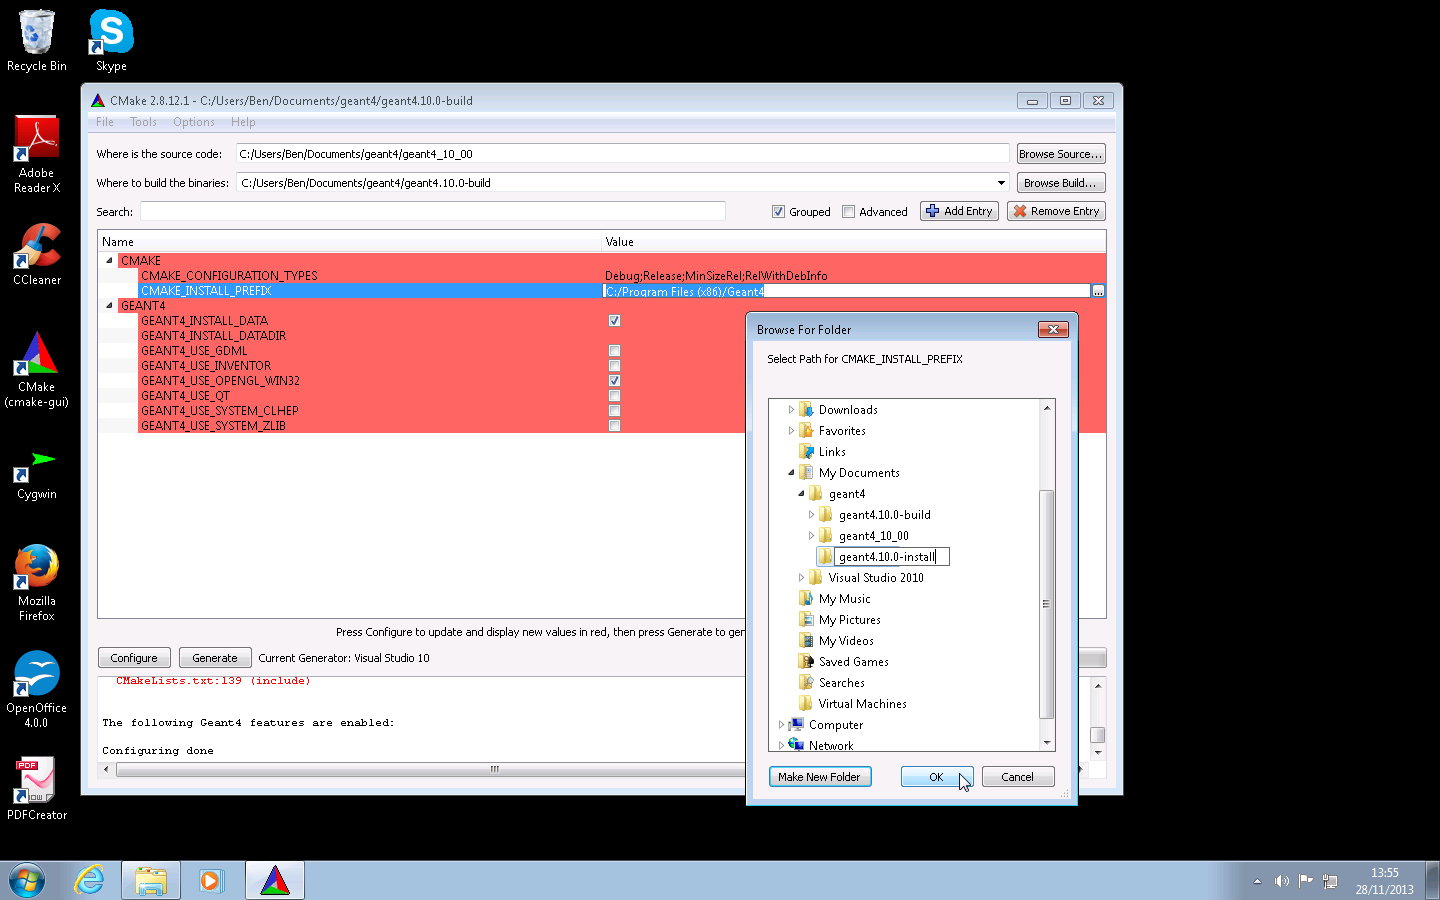
Click on the arrow next to the the
CMAKE entry in the
central options display to expand all CMake specific configuration
options. Scroll down to locate the
CMAKE_INSTALL_PREFIX entry. Click on the
entry and edit the path directly or via the file browser popup.
In this example we will modify this
install directory to
C:/Users/Ben/Documents/geant4/geant4.10.1-install.
If you need to activate extra components of Geant4, click on the
expansion arrow next to the GEANT4 entry in
the central options display to expand all Geant4 specific
configuration options. Simply click on the tick box next to an
option to select it if you require.
For illustration only,
we will enable two options, GEANT4_INSTALL_DATA
and GEANT4_OPENGL_WIN32 which will download and
install physics datasets for you and enable OpenGL support
respectively. Note that GEANT4_INSTALL_DATA
requires a working network connection so that datasets can be
downloaded, so if you are working offline you should disable it.
These, and other options, are documented in
Section 2.3.
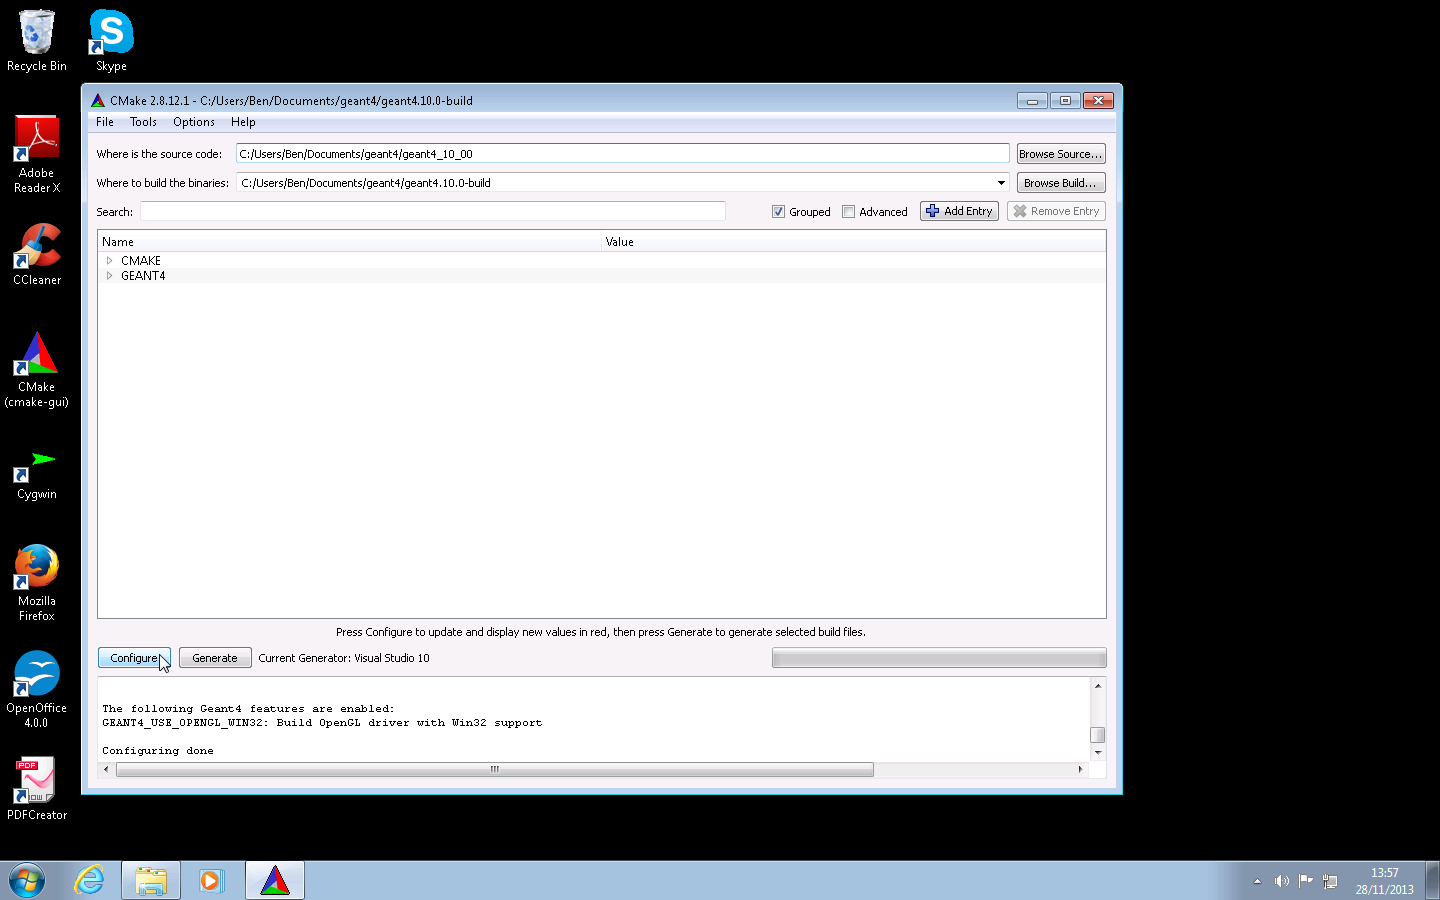
Once you have adjusted any options, click on the Configure button again. After this has finished, all the options listed in the central option display should be white. If you still have entries in red, click Configure to reconfigure until all entries are white.
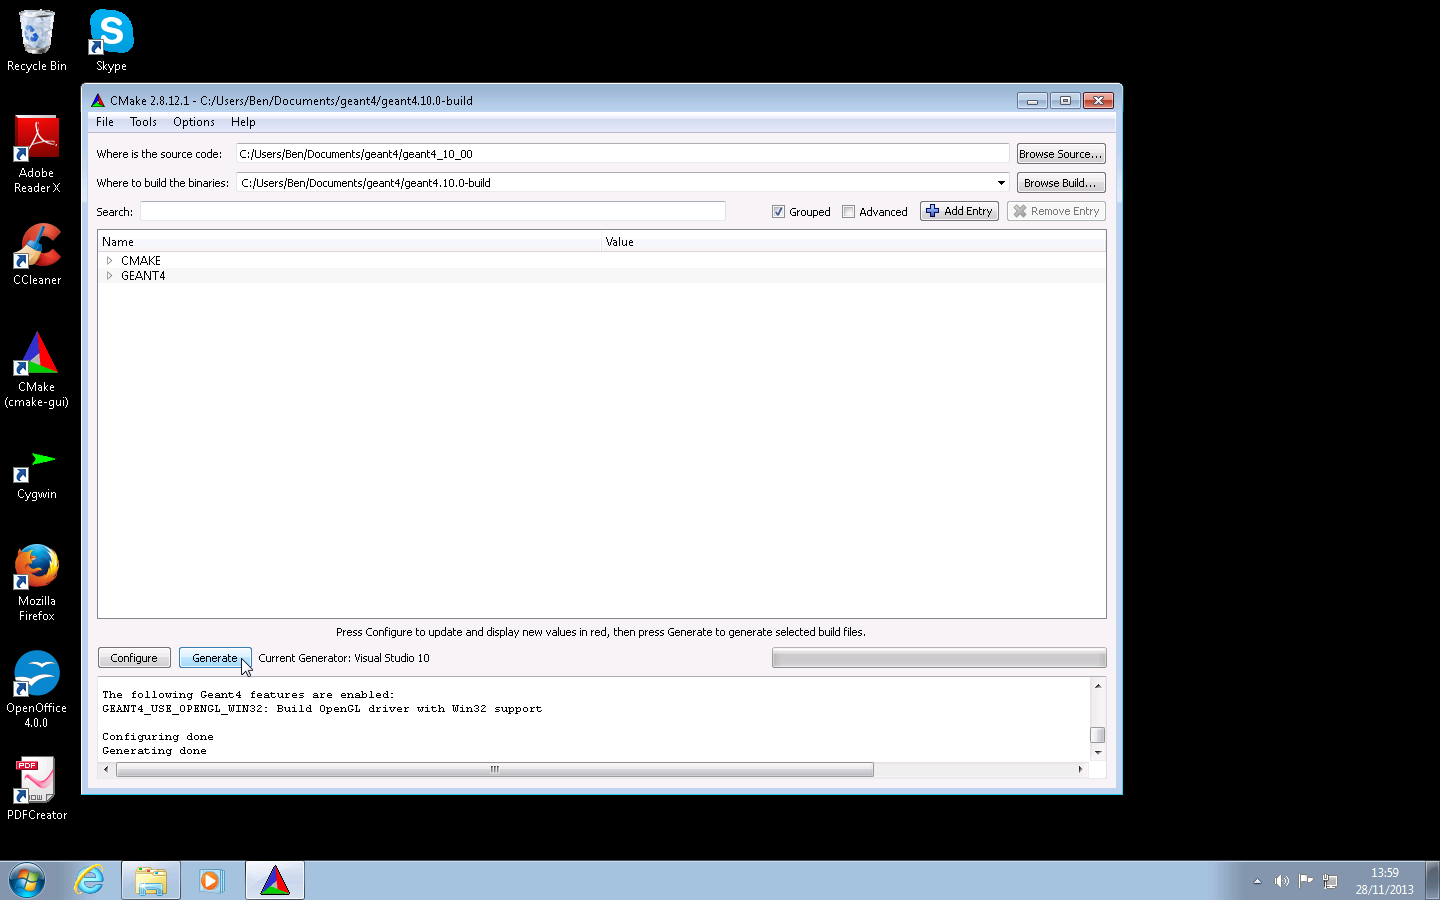
Now click on the Generate button to generate the Visual Studio project. All being well, CMake will generate the solution files and finally report Configuring done, Generating done in the logging window at the bottom of the GUI. You can now close the CMake GUI.
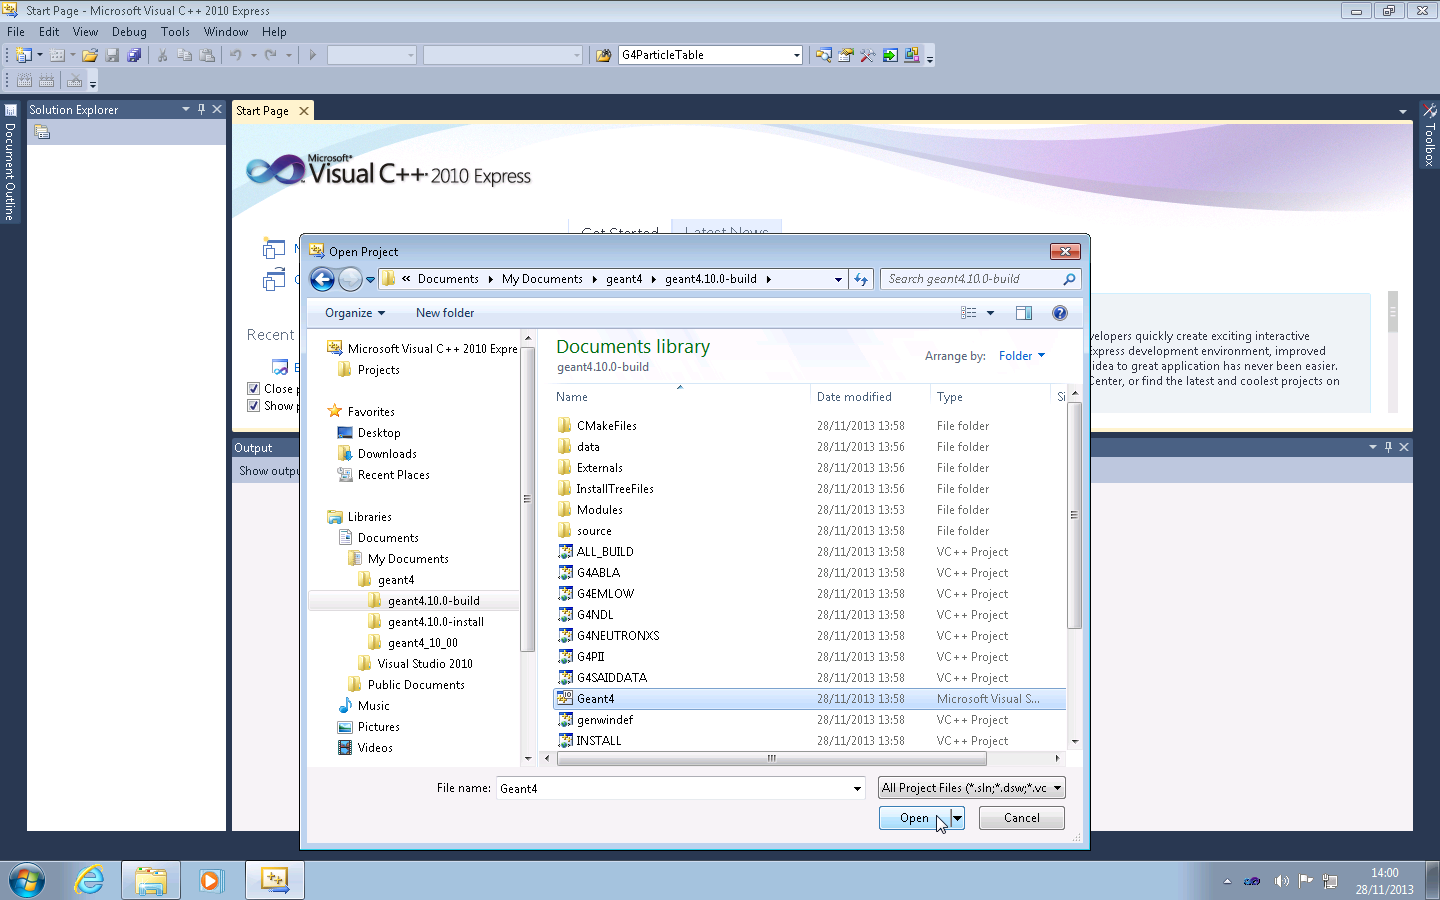
Now start up Visual Studio, and choose Open Project. This guide is somewhat specific to Visual Studio 2010 Express, but the solutions should appear with the same names in other versions. Browse to your build directory, and open the Geant4.sln Microsoft Visual Studio Solution file. Note that it may take some time to fully configure, open and parse all files in the solution. You may also use the MSBuild command line utility to build the solution directly if you are familiar with that tool, but we do not as yet document or support this.
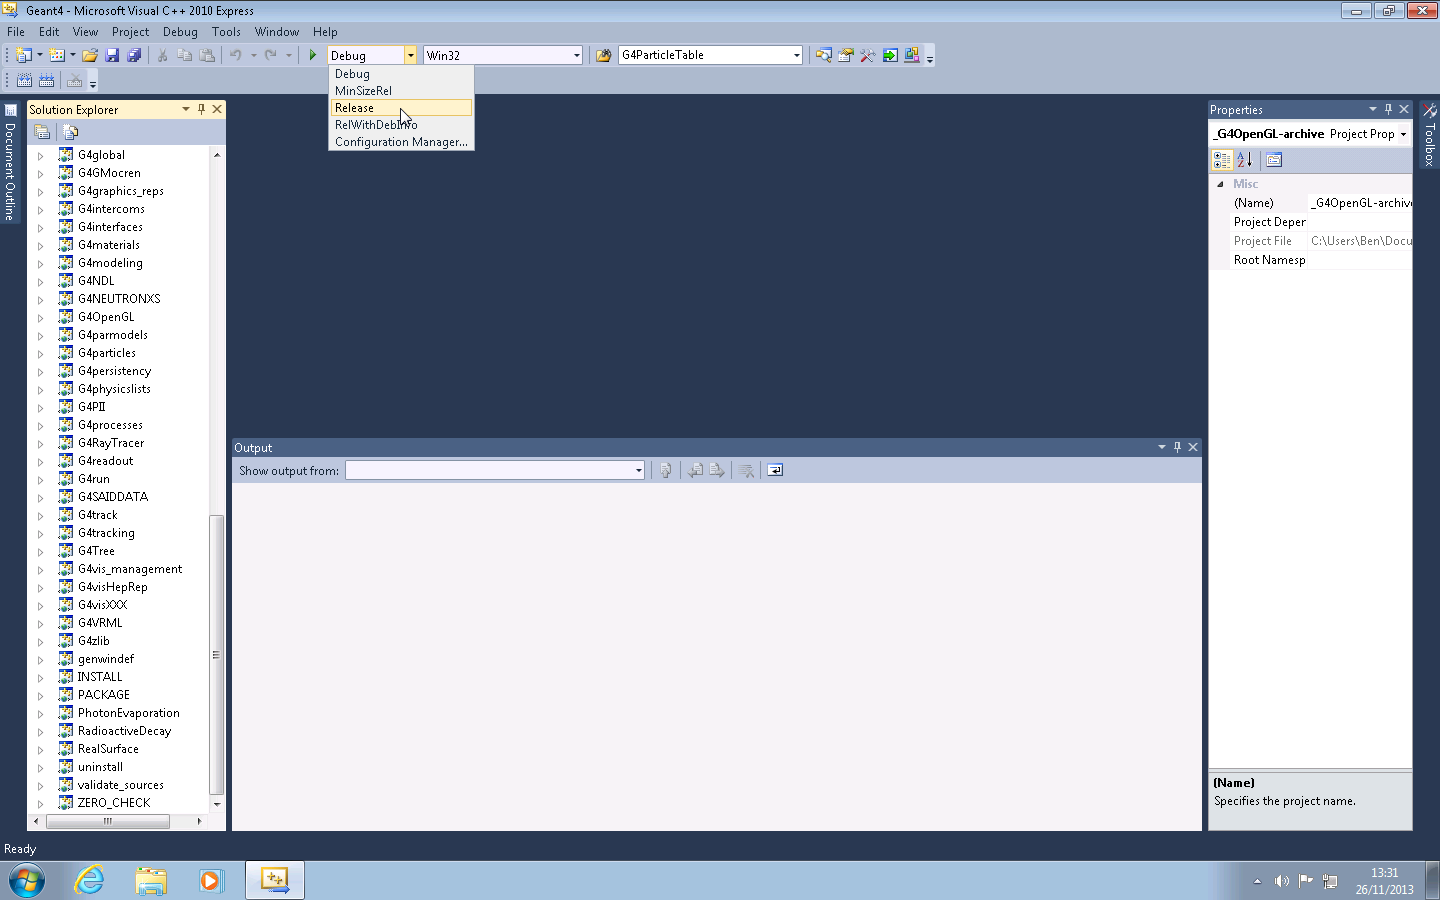
By default, the Visual Studio solution builds the Debug Configuration, so if you want an optimized build, you should select the Release option from the drop down Solutions Configurations menu in the toolbar (Visual Studio 2010).
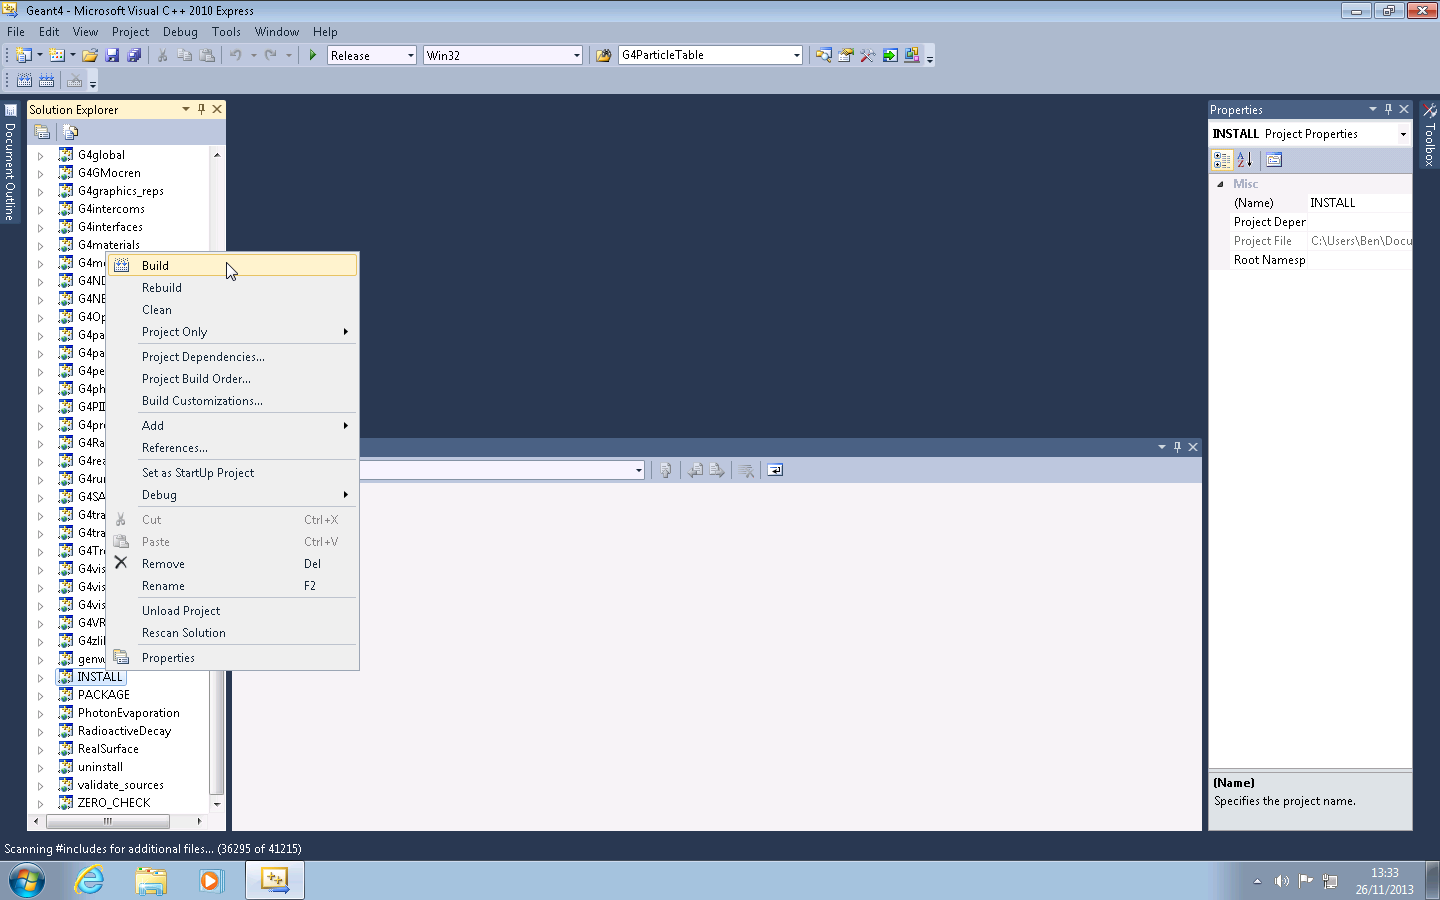
In the Solution Explorer, right click on the
INSTALL
solution, and select Build from the popup
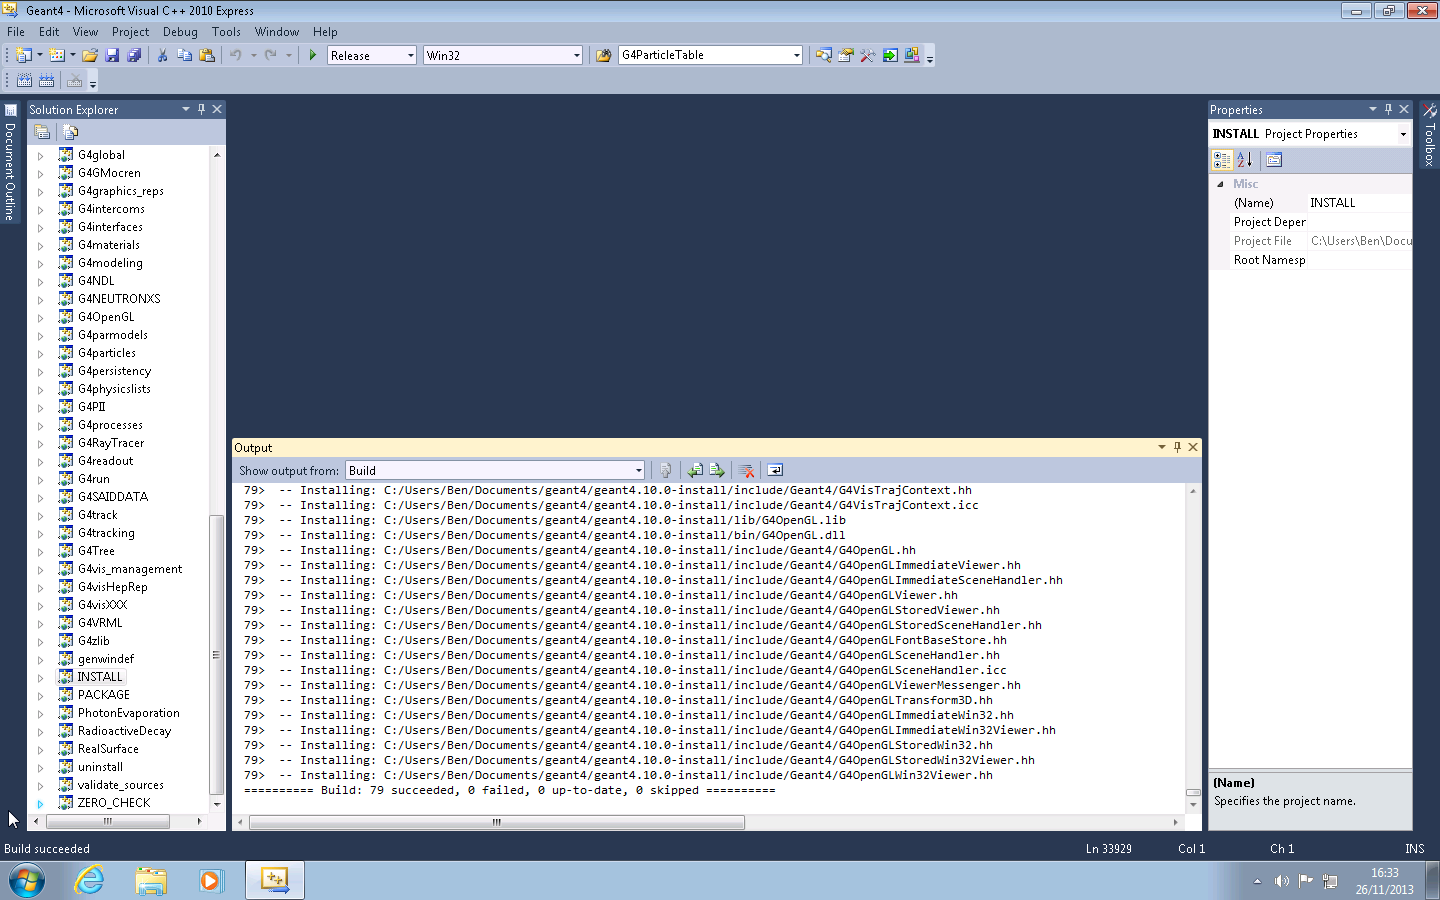
menu. The solution will now build and install to the directory you
chose for CMAKE_INSTALL_PREFIX earlier. If you
wish to build a different configuration
(Release if you built
Debug first, for example), then simply change
the solution configuration as described in the previous paragraph,
and build the INSTALL solution again.
If you see a successful build, you can exit Visual Studio.
The file and directory structure of the installation follows that of the Unix build, and is described in Section 3.1.
| |  | |
| Chapter 2. Building and Installing Geant4 |  | 2.3. Geant4 Build Options |